In this tutorial, I will certainly reveal you the steps I required to Design this Water colour Vintage Art work with Old Paper in Photoshop.
Photoshop mix water color brushes and newspaper tutorial, Along the way, I will reveal you ways to mix customized water colour brushes and old newspaper to develop vintage feel in Photoshop. This is an intermediate level Photoshop tutorial so some steps can be challenging– if you believe you depend on the challenge, kindly go ahead:-RRB-.
Keep in mind: The Photoshop tutorial is performed in CS6— therefore some screenshot may have slighting various design as in the earlier version.
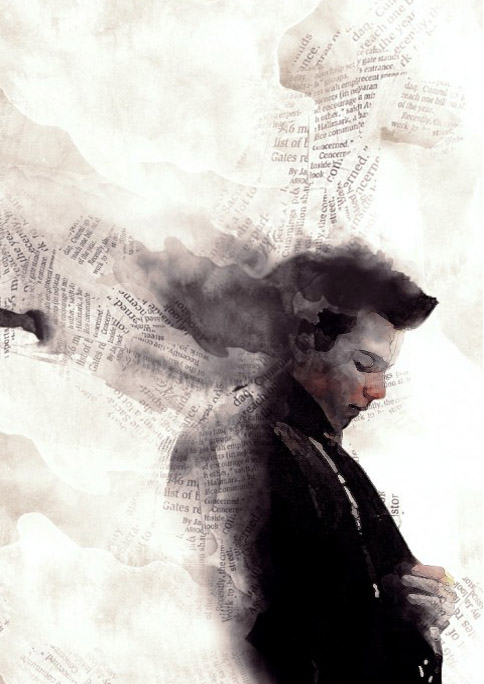
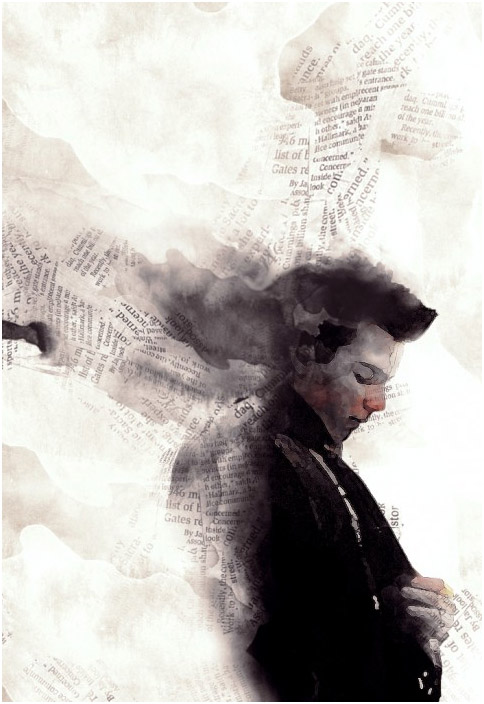
Right here is a preview of the final impact I have for this tutorial: (click to increase the size of).
Step 1.
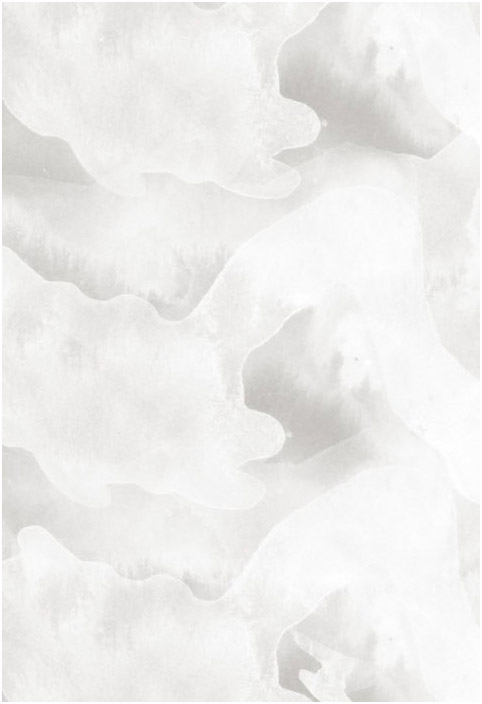
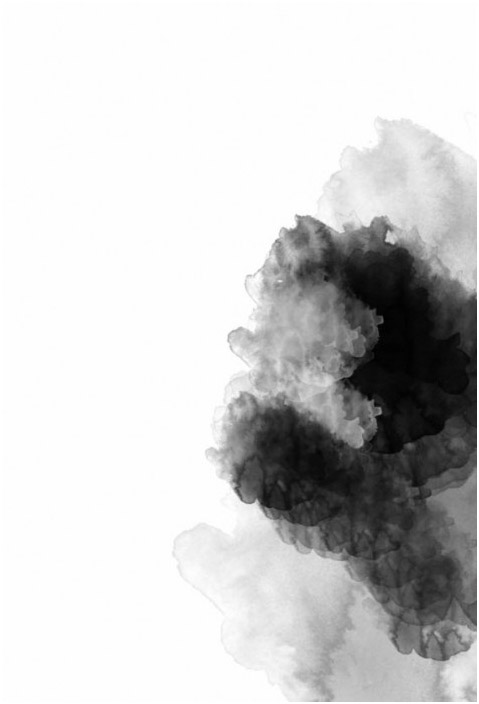
Develop a brand-new document sized 700px * 1020px with white background, utilize the watercolour brush you download, repaint some structure over the background:.
Tip: set brush flow and opacity to around 40 % for a subtle result.
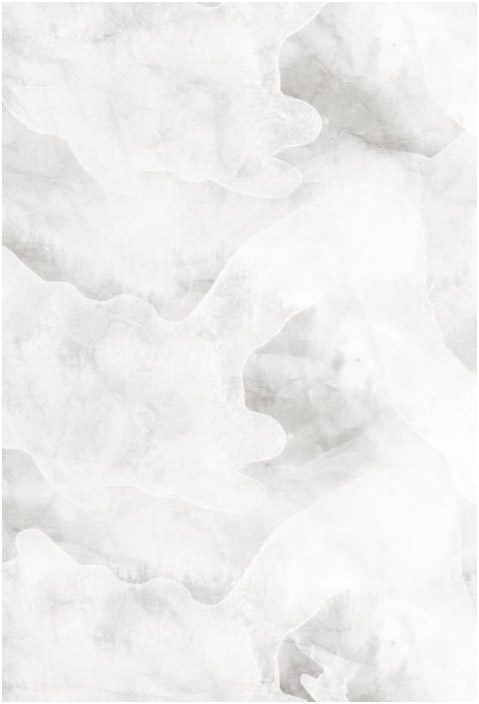
Load the paper structure into Photoshop, choose a section as revealed listed below :.

Copy and paste the selection over our file, set blending mode to “overlay” for this new layer :.
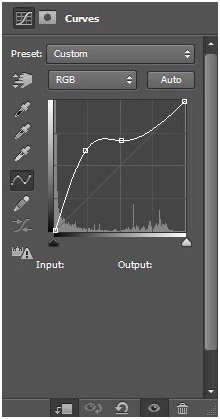
Add the following 2 modification layers on top:.
Levels

Curves

and you will have the following effect up until now:.

Step 2.
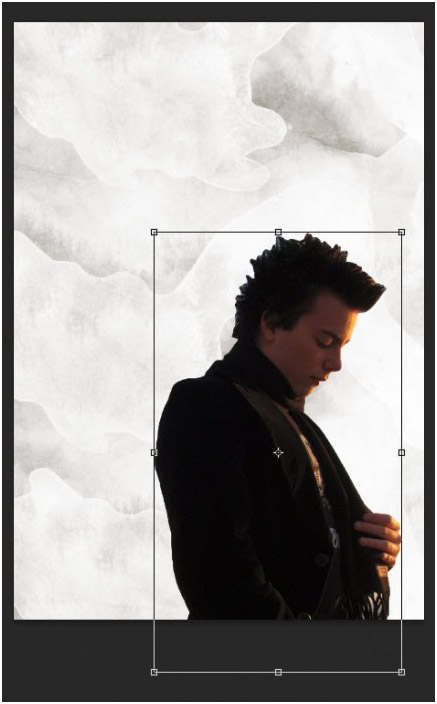
Load the design image into Photoshop, eliminated the model and location it to the position shown listed below:.
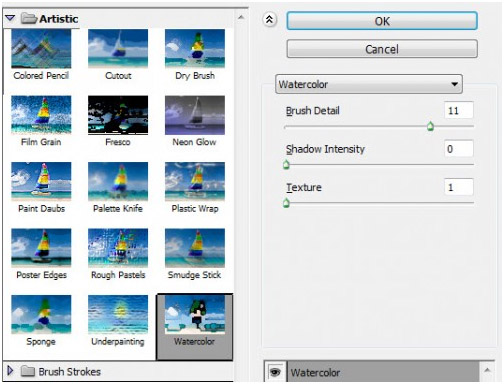
Use the following Watercolour Filter to this new layer:.
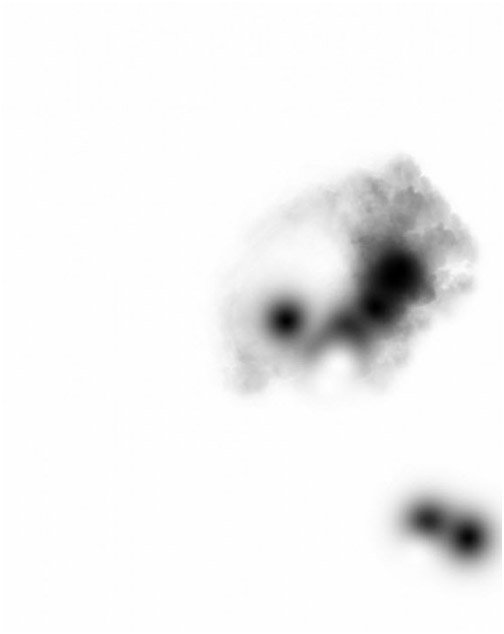
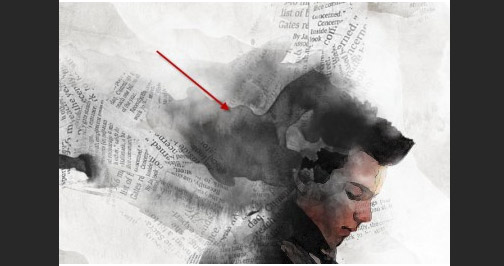
Include a layer mask to this model layer, and utilize the watercolour brush as eraser to get rid of some parts of the design, as shown below:.

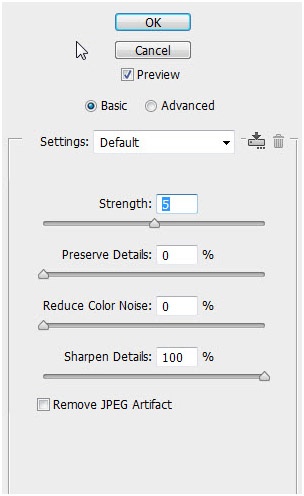
Use the following “Reduce Noise” filter to this model layer (Filter > Sound > Reduce Noise):.
and you will have the following impact so far:.

Step 3.
Include the following modification layers as clipping mask to this model layer:.
Black & White

Layer mask on black and white modification layer:.
Layer mask on levels change layer:.
Levels
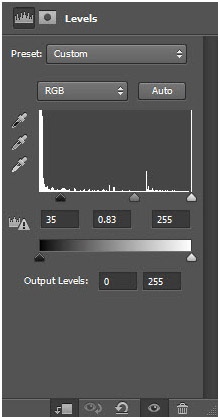
Layer mask on levels Adjustment layer
Curves
and you will have the following result so far:.

Step 4.
Load the Newspaper image into Photoshop, make use of Lasso Device with a 10px feather to pick a portion of it:.

Copy and paste the choice below the design layer, duplicate this layer a couple of times, rotate and resize them, then position them around the design as shown below:.
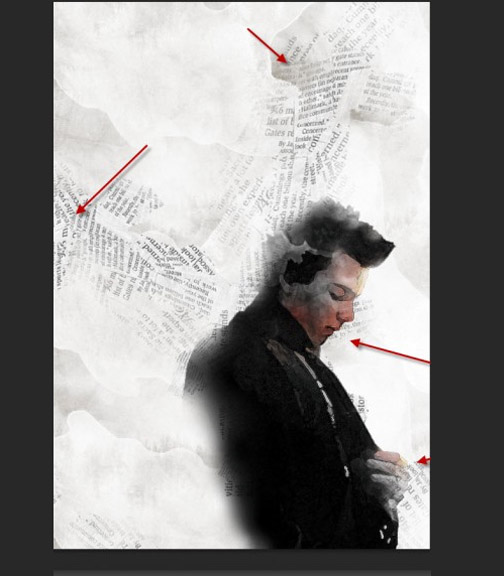
Likewise position a copy above the design layer to the position shown below:.
Utilize a soft eraser to eliminate the edge of the paper structure to fade it into the background:.

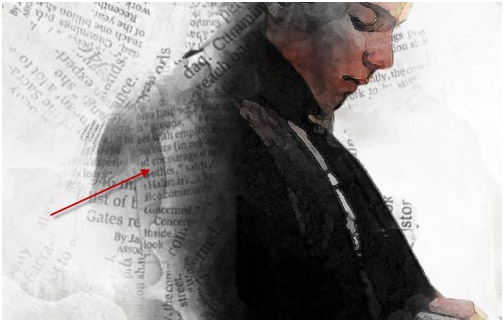
Paint some more watercolour structure on the model as shown listed below:.
I additionally changed the colour balance a bit to give it a little old paper feel, and right here is my last result:.
That’s it for this tutorial! Hope you enjoy it and discover it beneficial! Till next tim.
