Learn How To Use Gradient Overlay
Gradient Overlay is mostly made use of for something, adding depth to your layout. Learn How To Use Gradient Overlay with different Blend Settings could also aid you blend products with the layers beneath them. Photoshop layer styles are a prominent means to add effects, such as decrease shadows and strokes, to layers in a non-destructive method. With the ideal knowledge as well as experience, any impact can be attained. To achieve these effects, however, you have to recognize just what each setting does and also just how they can be integrated to create a certain look. In this collection by John Shaver from Design Panoply, we will explain every facet of Photoshop’s layer styles showcase and also reveal you how to unlock their capacity.
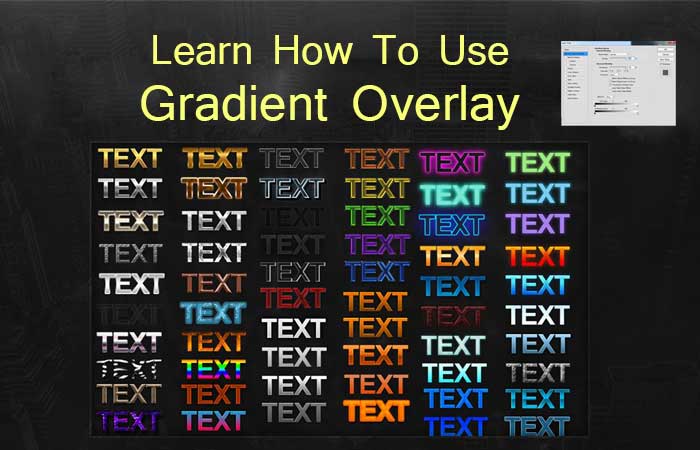
In this article, Learn How To Use Gradient Overlay, we will certainly describe the settings behind Gradient Overlay as well as the methods it can be used to produce different effects. Let’s get started.
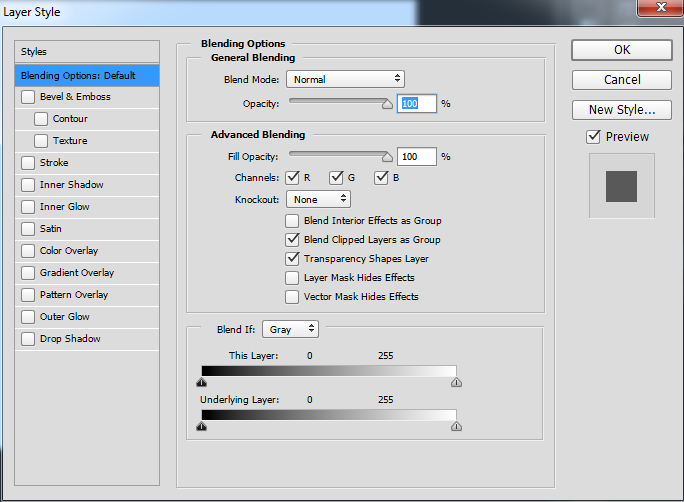
The Layer Styles Gradient Overlay Dialog Box
Gradient Overlay contains a couple of fundamental settings, as well as does just what the name says. It creates a gradient that can be changed making use of different mixing settings, openness, and even more to provide you different looks.
Note: When using Gradient Overlay, it can be helpful to establish the Fill transparency of your layer to 0% first. Fill up can be located simply beneath Opacity in the Layers scheme.
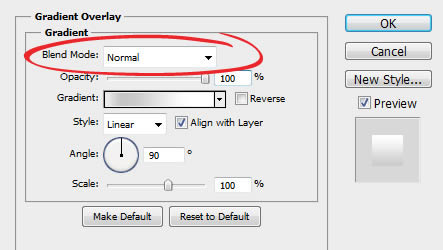
Blend Mode
The Blend Mode allows you to establish the mixing mode for your Gradient Overlay.
Leaving it on Regular allows you to create simple slopes, while other choices will blend with the layers beneath your gradient. If you are not familiar with exactly how all the various Blending Settings function, I very suggest checking out the Blending Is Enjoyable basics tutorial.
In the following example, you could see just how altering the Blend Mode from Typical to Linear Burn makes our minor red gradient darken the layer below it.
Opacity
A smaller number here makes your Gradient Overlay extra transparent, while a higher number gives a stronger effect.
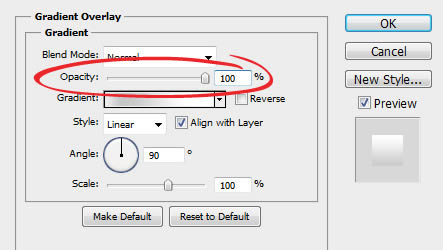
In the copying, you could see that a reduced Opacity makes our message see-through.
Gradient
This is where you set the actual shades in your gradient. It can be a basic 2-color discolor, or a complicated set of colors for unique effects, like metal.
Examining the Reverse checkbox will certainly turn around the instructions of your gradient.
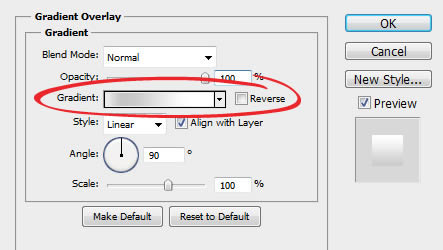
In the copying, you can see the difference between a straightforward, 2-color gradient as well as an elaborate, multi-color chrome gradient.
Style
The Design dropdown includes five various selections:
- Linear: A basic gradient in between two factors
- Radial: A gradient starting from a facility factor and radiating outwards
- Angle: A gradient that turns around a facility pivot point
- Reflected: A straight gradient that duplicates itself as a mirror image
- Diamond: A ruby gradient that emits from a facility point
The Align with Layer checkbox straightens the Gradient with the product it is related to. You can likewise click and drag within your paper while the Layer Styles dialog box is open to by hand position your Gradient.
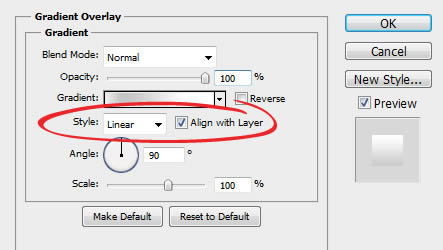
In the following example, the Straight gradient begins with the leading and also fades to the bottom, while the Angle gradient turns around the facility point of the message.
Angle
The Angle spinner allows you establish the angle of your gradient.
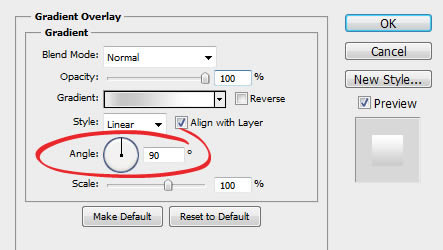
In the copying, you could see the just how transforming the angle affects the look of the design. Readjusting the Angle is valuable if you have to match the look of your gradients to various other lights effects within your scene.
Scale
You could change the begin and also end point locations of your Gradient by readjusting the Scale slider.
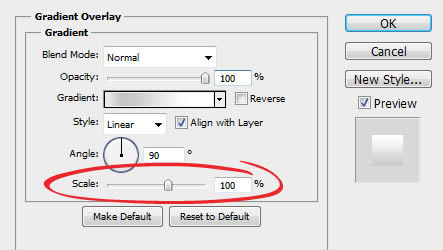
In the following example, you can see the just how decreasing the Scale specification can offer our design a more significant look.
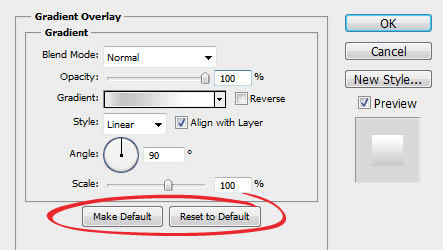
Saving and Default Setups
You can save and pack default settings for every effect in the Layer Styles dialog box. By clicking “Make Default”, Photoshop will certainly save whatever setups are currently active as the new default setups for that effect.
By clicking “Reset to Default”, Photoshop will after that pack whatever settings were last conserved. This allows you to experiment and also just refill customized default settings if you wish to begin again.